Dealing with Dynamic Range
One of the enduring challenges in photography is dynamic range. The human eye can see a range of about 18-21 stops of light between the darkest and lightest areas they can detect. (A "stop" is a relative measure of light in photography.) Today's best full-frame mirrorless cameras are good for about 15 1/2 stops. That might not seem like much, but because stops are logarithmic, it means that your eyes can see a range of light that is 6 to 40 times what the best modern cameras can capture!
So you're often presented with a scene that simply can't be captured the way your eyes see it and you're forced to make hard choices. If you properly expose the lightest parts of the scene, you're going to lose detail in the darkest parts, and vice-versa. Most of the time, I will bias my exposure for the lightest parts because post-processing can recovering shadow detail (albeit with a degradation in color, noise, and clarity), but lost highlight detail is gone for good.
Another approach is to take multiple shots of the same image at different exposure levels, so that you end up with a set of photos that properly expose every part of the scene. Then you combine them together in post-processing using sections from each photo. This can be done manually in Photoshop, or in an automated way through HDR processing.
Like a lot of photographers, I went down the rabbit hole of HDR. I got mesmerized by Trey Ratcliff's work, which really showed off what was possible with the technique. Trey is really a master at nailing the delicate balance in HDR between extraordinary and excessive. But like a lot of photographers who got into HDR, my hit-rate wasn't as good as Trey's and I made some really shitty photos. But all of that is part of the process, and I'm glad I went through it because I learned a lot more than I would have by being dogmatic about it like a lot of other people.
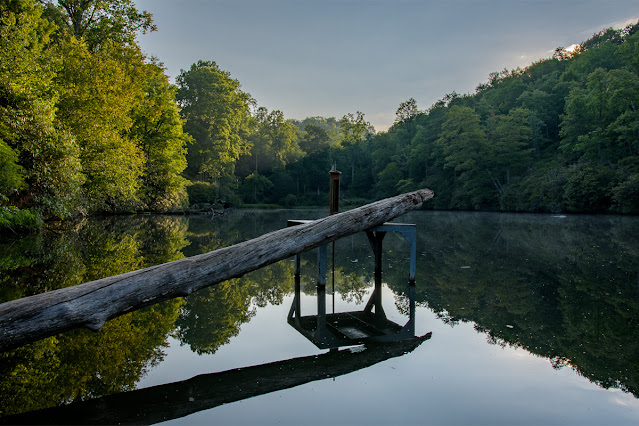
This photo is the first HDR shot I've done in many years. I did this one using Lightroom's HDR feature, which is much more subtle than the tools I used to use. With Lightroom, Adobe took the approach of using the component images to simply create a wider dynamic range RAW file that you can adjust later in Lightroom just like any other RAW file. I very much prefer this approach. It's a lot more subtle and less likely to look garishly over-cooked. It looks like one of my normal photos, but it's a cleaner image than I'd get with my normal approach because the camera didn't have sufficient dynamic range to deal with the scene.
Still, even with more nuanced tools, there's a reason I don't take many HDR photos. It's a practical reason, not a philosophical one. For my photography, HDR is a lot more effort for very little return. With the vast majority of scenes, modern cameras have enough dynamic range that the simple shadow lifting tools available in Lightroom can do the rest very credibly. Getting one image and processing it in one tool is just much easier and faster, and results look just as good. In fact, they're often better.

Comments
Post a Comment